When you’re staring down the barrel of a Salesforce data migration, it’s easy to get lost in the technical details. But let’s be clear: this isn’t just an engineering task. It’s a disciplined, careful process that protects your most valuable asset—your customer data. A successful migration hinges on meticulous planning, smart schema mapping, relentless testing, and a rock-solid cutover strategy.
Think of it less like a simple data transfer and more like a critical business initiative. Because that’s exactly what it is.
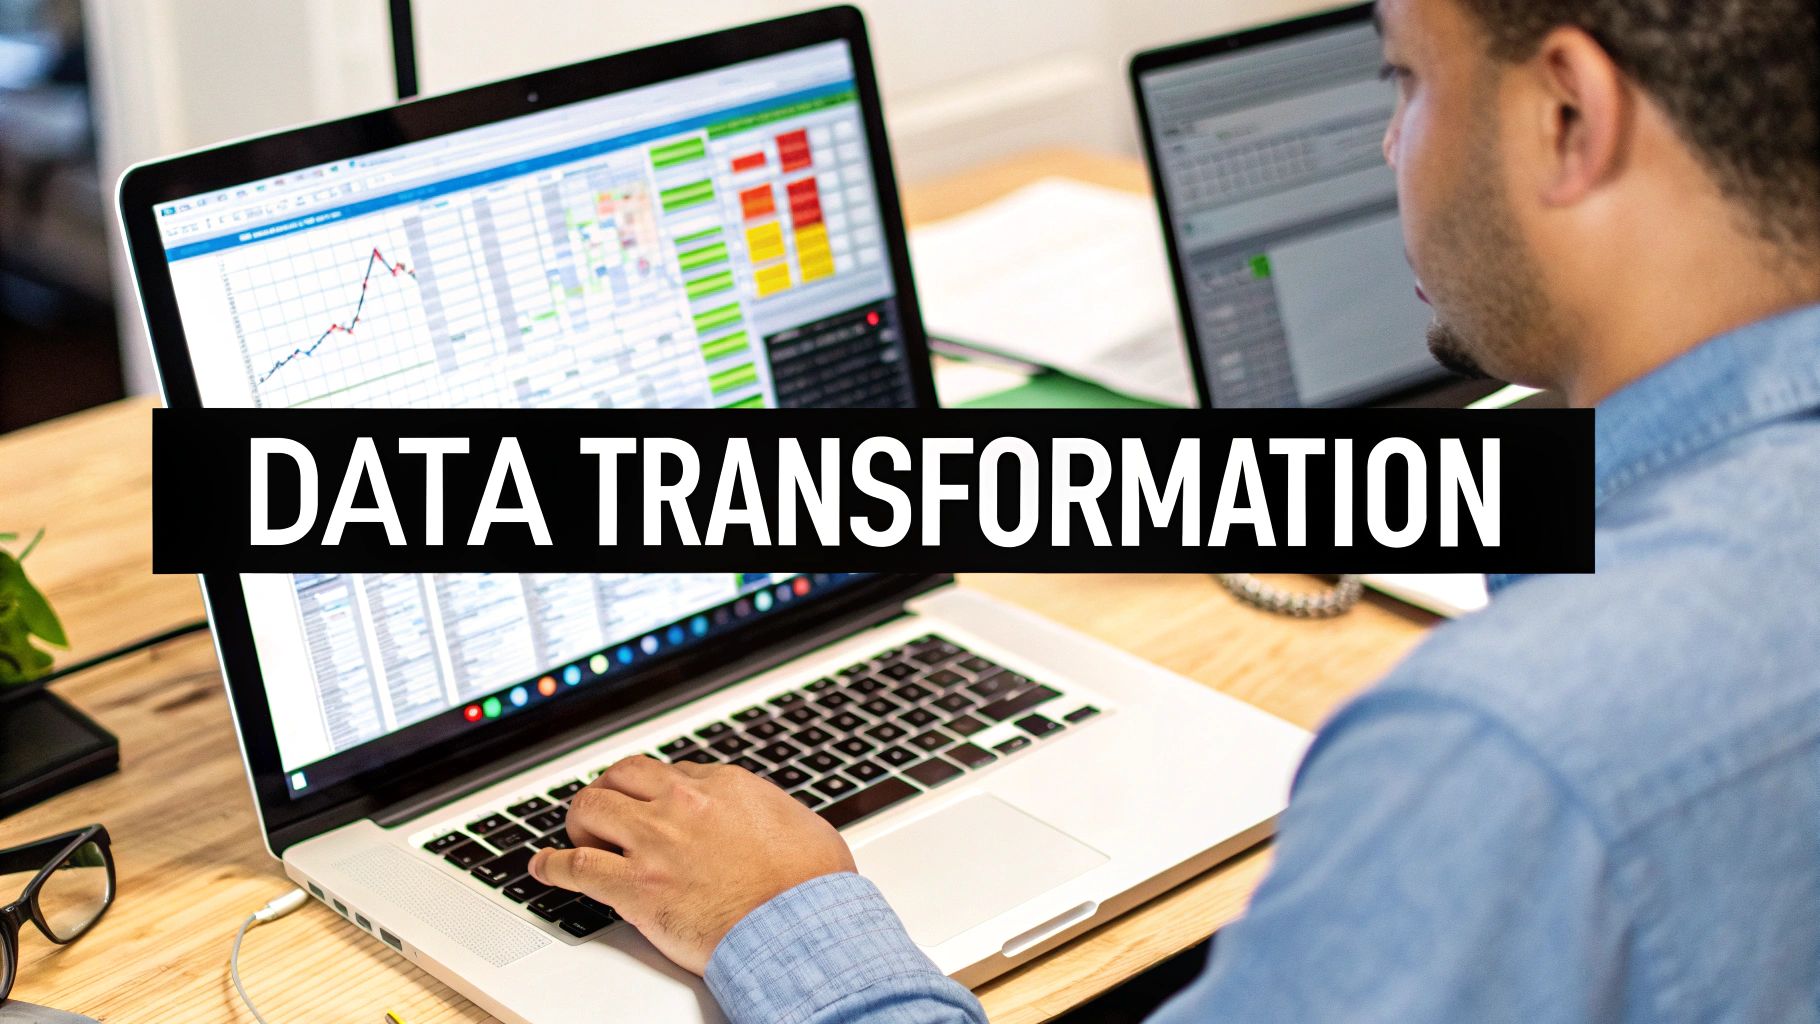
Why Mastering Salesforce Data Migration Is Crucial
Salesforce data migration is so much more than a technical chore; it’s a strategic process that directly fuels your entire revenue engine. I like to think of it as a heart transplant for your business. When you get it right, it breathes new life into your operations, giving you cleaner analytics, more reliable automation, and teams that can actually trust the data they’re using.
But when it goes wrong, the whole system can go into shock.
A botched migration can corrupt your data, shatter critical workflows, and completely erode your team’s trust in the CRM. For anyone in RevOps, the stakes are incredibly high. You might be inheriting a system buried in technical debt or facing the monumental task of moving years of complex data tied up in custom objects. We actually dive deep into those complexities in our guide on navigating Salesforce custom object limits.
The Financial and Operational Stakes
Let’s be blunt: cutting corners isn’t a shortcut. It’s a fast track to failure. Poorly planned migrations are notorious for causing massive downtime and blowing up budgets. In fact, some research shows that up to 90% of enterprise projects hit major roadblocks along the way.
The costs can be staggering, with big projects easily ballooning to $500,000 or more, especially in multi-org environments. One of the most common mistakes I see is skipping a thorough pre-migration audit. That one oversight alone can inflate your costs by 20-30% simply from moving junk data you didn’t need in the first place.
A Salesforce migration isn’t just about moving records from point A to point B. It’s about preserving the context, relationships, and history that make that data valuable. Losing that context is like getting a book with all the pages out of order—the words are there, but the story is gone.
From Technical Chore to Strategic Initiative
Ultimately, adopting proper Salesforce data migration best practices frames the project correctly—not as an IT task, but as a foundational business activity. It’s what ensures your data remains a reliable asset for making smart decisions, whether that’s refining sales territories or building accurate revenue forecasts in your data warehouse.
When you approach it with a disciplined, engineering-first mindset, you transform a high-risk project into a high-reward strategic win.
2. Building Your Data Migration Blueprint
Let’s be honest: a Salesforce data migration is won or lost long before you move a single record. It all comes down to the planning.
Think of it like building a house. You wouldn’t just start throwing up walls without a detailed architectural blueprint, right? Rushing the discovery and planning phase is the fastest way to blow your budget, miss deadlines, and create a data mess that will haunt you for years. Your blueprint is the master plan that guides every single step, from scrubbing messy data to the final, nerve-wracking go-live.
This isn’t just about avoiding technical glitches. The stakes are incredibly high. Small data issues have a nasty habit of snowballing into catastrophic business problems.

As you can see, corrupted data isn’t just a database problem—it breaks the automations your sales and marketing teams rely on. When those processes fail, the entire project is at risk.
Start with a No-Stone-Unturned Data Audit
Before you can even think about mapping fields, you have to know exactly what you’re dealing with. A real data audit goes way beyond just counting records. It’s a deep, qualitative dive into your entire dataset to decide what’s valuable enough to bring along, what can be archived, and what’s frankly a mess that needs to be cleaned up or transformed.
Your audit needs to answer some tough questions:
- Is it still relevant? Do you really need to migrate five years of outdated marketing campaign data? Probably not.
- What’s the quality like? Be on the lookout for rampant duplicates, empty fields, and inconsistent formatting (think “USA,” “U.S.,” and “United States” all in the same column).
- Who owns this data? You need to identify the business owner for each dataset. They’ll be your best friend when it comes to validation later.
- What are the dependencies? This is a big one. You can’t migrate
Contactsuntil you’ve successfully migrated their parentAccounts.
This deep-dive is non-negotiable. With 94% of organizations expected to use cloud infrastructure by the end of 2025, the pressure to get these projects done is immense. But rushing it is a recipe for disaster, contributing to the 90% of IT projects that suffer from budget overruns and quality issues. For any RevOps leader handling millions of records and years of custom logic, a meticulous plan is the only way forward. You can learn more by checking out this strategic approach to Salesforce data migration planning from industry experts.
To help you get started, here’s a checklist covering the essential discovery and planning tasks.
Salesforce Data Migration Planning Checklist
This checklist breaks down the critical tasks for your discovery and planning phase. Working through this methodically will help ensure you’ve covered all your bases before the real heavy lifting begins.
| Task | Objective | Key Considerations |
|---|---|---|
| Stakeholder Kickoff | Align all key business and technical stakeholders on project scope, goals, and timeline. | Who are the data owners? What does success look like for each team (Sales, Marketing, Finance)? What’s the budget? |
| Data Source Audit | Catalog every source system, object, and field slated for migration. | Is the data structured or unstructured? Are there hidden systems or “shadow IT” spreadsheets to account for? |
| Data Quality Analysis | Assess the cleanliness and integrity of the source data. | Identify duplicates, null values, and formatting inconsistencies. Quantify the cleanup effort required. |
| Schema Mapping | Create a detailed map from source fields to target Salesforce fields. | Document data types, picklist values, and any transformation logic needed. This will be your migration bible. |
| Tool Selection | Evaluate and choose the right migration tool(s) for the job. | Consider data volume, complexity, budget, and your team’s technical skills (e.g., Data Loader vs. a full ETL tool). |
| Define Test Strategy | Outline how you will validate the migrated data for accuracy and completeness. | What are the key reports to check? Who will perform User Acceptance Testing (UAT)? How will you handle sign-off? |
| Develop Cutover Plan | Detail the step-by-step sequence of events for the final go-live weekend. | Include communication plans, rollback procedures, and post-migration support contacts. |
Completing these tasks gives you a solid foundation and turns a potentially chaotic project into a structured, manageable process.
Map Your Data Schema Like a Pro
With your audit done, it’s time for schema mapping. This is where you get into the nitty-gritty, defining exactly how every field in your old system will connect to a field in your new Salesforce org. Think of it as creating a precise, instruction-by-instruction guide for your migration tool.
Your source of truth here is a mapping document, usually a shared spreadsheet that everyone on the project can access. It needs to track:
- Source Object and Field: The original table and column name.
- Target Object and Field: The destination Salesforce object and its API name.
- Data Type: The field’s type in both systems (e.g., Text, Number, Date).
- Transformation Logic: Any rules you need to apply to clean or change the data on its way over, like standardizing country codes or converting old picklist values to new ones.
Don’t underestimate the complexity here. This is where you’ll unearth all the hidden dependencies, mismatched data types, and the true scope of the data cleanup ahead. A meticulously detailed mapping document is your best defense against errors during the actual data load.
Choose the Right Tools for the Job
Finally, your blueprint needs to nail down the right tools for this specific migration. The best choice really depends on your data volume, how complex the transformations are, and your team’s technical chops.
-
Salesforce Data Loader: This is Salesforce’s free, powerful desktop client. It’s a workhorse for bulk operations (handling up to 5 million records) but it’s largely manual and requires a steady, technical hand to operate correctly.
-
Third-Party ETL Solutions: Tools like MuleSoft, Informatica, or Skyvia are the heavy machinery. They offer visual mapping interfaces, can handle complex data transformations on the fly, and have much better error handling. They’re perfect for large, messy, or mission-critical projects, but they do come with a price tag.
Your blueprint should carefully weigh the pros and cons of each option, matching your choice to the project’s budget, timeline, and technical needs to set yourself up for a smooth execution.
Alright, with your schema mapped out and a plan in hand, we get to the fun part: the actual engineering. This is where we start transforming the raw data from your old systems into something clean, structured, and ready for its new home in Salesforce.
This isn’t just about moving files from one folder to another. It’s more like a meticulous restoration project. You’re taking data that’s been living in different environments, with all its quirks and inconsistencies, and carefully shaping it to fit perfectly within your new Salesforce architecture. Get this right, and you set yourself up for data integrity and scalability for years to come.
Establish a Clear Canonical Data Model
Before a single line of code gets written, you absolutely need to define a canonical data model. Think of this as your universal translator or the “Rosetta Stone” for your migration. It’s a single, standardized format that all your source data must conform to before it even thinks about touching Salesforce.
This step is a lifesaver, especially when you’re pulling data from multiple places. Imagine you have customer info from an old CRM, a marketing tool, and a dozen spreadsheets. One system might use “USA” for the country, another “U.S.”, and the spreadsheets might have “United States.” Your canonical model solves this by decreeing a single standard—like “United States”—that all source data gets converted to. It decouples the messiness of your source systems from the clean structure of your target schema.
Handling Common Transformation Challenges
With your canonical model defined, the real puzzle-solving begins. This is where you’ll spend a good chunk of your time, untangling the inevitable knots in your source data. Trust me, you’re going to run into these.
Here are a few of the usual suspects you’ll need to wrangle:
- Picklist Value Mapping: Your old CRM probably has a “Status” field with options like “Active,” “Inactive,” and “Pending.” But your new Salesforce instance is configured with “Current,” “Churned,” and “In Progress.” Your transformation logic needs a clear mapping table to translate these one-for-one.
- Data Enrichment: Let’s be honest, the data you’re migrating is probably incomplete. You might need to enrich records on the fly. A common play is using a third-party service like Clearbit to append industry or employee count data to
Accountrecords based on their website domain. - Formatting Inconsistencies: Get ready for some data janitor work. You’ll find phone numbers in every format imaginable, names and cities that aren’t properly capitalized, and text fields full of leading or trailing white space. All of this needs to be standardized.
To make this process less painful, most engineering teams lean on specialized software. If you’re looking for the right tool for the job, our guide on the best data transformation tools breaks down the top options out there.
Preserve Relationships with External IDs
This is one of the most critical parts of any migration: keeping your records connected. You can’t just dump in all your Accounts and then all your Contacts and cross your fingers. You need a rock-solid way to maintain those parent-child relationships.
The answer is the External ID. Before you start, create a new custom field on your Salesforce objects (Account, Contact, Opportunity, etc.) and mark it as an “External ID.” As you migrate your data, populate this field with the unique primary key from the original source system.
An External ID acts as an unbreakable link back to the source record. It lets you easily upsert
Contactsand tie them to the correct parentAccountusing the account’s original ID. This simple step saves you from the absolute nightmare of trying to reconcile relationships with VLOOKUPs after the fact.
Staging Data for Warehouse Pipelines
If your team is also syncing Salesforce data into a warehouse like Snowflake, your transformation strategy gets a bit more sophisticated. Instead of pushing transformed data directly into Salesforce and your warehouse, the best practice is to land the raw, untouched data in a staging area in your warehouse first.
From there, you can fire up a tool like dbt to build models that clean, standardize, and join everything. This creates a clean, analytics-ready layer that can then be pushed to your final production tables. This layered approach gives you a robust, auditable pipeline that’s far easier to debug and maintain because your transformations are version-controlled and completely separate from the raw source data.
Alright, you’ve done the hard work of planning, mapping your schema, and transforming the data. Now it’s time to bring it all to life. This is where the rubber meets the road, and all that careful preparation is about to pay off in a big way. The absolute key here is to avoid a “big bang” migration, where you try to move everything at once and pray for the best. That’s a recipe for disaster.
Instead, think of this phase as a series of dress rehearsals. Each run-through builds your confidence and lets you catch problems while the stakes are low. By the time you get to the final performance—your production go-live—it should feel routine, not terrifying. Following this methodical process is probably one of the most critical Salesforce data migration best practices you can adopt.
The Phased Migration Strategy
Breaking the migration into smaller, manageable chunks is the best way to de-risk the whole project. This lets you test everything—your tools, your logic, your data integrity—on a small scale before you commit to moving the entire dataset.
-
Start with a Tiny Data Sample: Your very first run should be with a small, but representative, slice of data. I’m talking a handful of Accounts with their related Contacts and Opportunities. The point isn’t volume; it’s about proving the entire end-to-end process works, from extraction and transformation all the way to loading and linking records correctly.
-
Move to a Full Sandbox Migration: Once you’ve nailed the sample load, it’s time for the main rehearsal. A full migration into a recently refreshed developer or partial copy sandbox is as close to the real thing as you can get. This is where you’ll uncover performance bottlenecks, flirt with API limits, and find all the weird edge cases that your small sample didn’t catch.
-
Execute the Production Run: Only after you’ve completed a successful and fully validated sandbox migration should you even think about touching production. By this stage, you should have a rock-solid plan and feel confident that you’ve squashed nearly every potential bug.
Mastering Your Migration Tools
Whether you’re using the good old Salesforce Data Loader or a fancy third-party ETL tool, just clicking “run” won’t cut it. You have to actively manage the process to sidestep common traps.
One of the most important settings to get right is the batch size. If you set it too high, you’ll run into record-locking errors or hit Salesforce’s processing limits, causing jobs to fail. But set it too low, and your migration will take forever. A good starting point is usually a batch size of 200 records, which you can then tweak based on how complex your objects are and how the system is responding.
Always, always enable “Use Bulk API” in Data Loader if you’re dealing with large data volumes (think 50,000+ records). It processes data asynchronously and is built for heavy lifting, which dramatically speeds things up and saves you from frustrating timeout errors.
The Critical Role of Validation and UAT
Migrating data without validating it is just crossing your fingers and hoping for the best. Validation isn’t optional; it’s what confirms that what you thought you did is what actually happened in the system.
At every stage, your validation checklist should include:
- Record Count Comparisons: Run simple SOQL queries to compare the record counts for each object between your source and the target org. Do the numbers line up?
- Spot-Checking Key Records: Pick a few complex records and manually inspect them in Salesforce. Are all the fields populated correctly? Are the parent-child relationships intact?
- Testing Reports and Dashboards: Fire up a few mission-critical reports in the sandbox. Does the data roll up correctly? If your reports look right, that’s a fantastic sign of a healthy migration.
The final, and most important, piece of the puzzle is User Acceptance Testing (UAT). Get your key business stakeholders—the sales reps, the service agents, the marketing managers—into that sandbox. Ask them to run through their daily routines. Can they create a lead and convert it? Can they manage their sales territories? Their sign-off is the ultimate confirmation that the data is not only there but is also usable and supports how they actually work. After all, what’s the point if the data isn’t trustworthy for historical reporting? You can dive deeper into the nuances of field history tracking in Salesforce to see how to preserve this crucial data.
Strong data pipelines are the engine driving modern business. Just look at the explosive growth of Salesforce Data Cloud, which hit $900 million in annual recurring revenue in FY2025 and ingested over 50 trillion records using Zero Copy. Industry benchmarks show that data projects done right deliver an average 299% ROI over three years. Teams see forecast accuracy jump by 32% and sales cycles shorten by 8-14 days, all thanks to cleaner, more reliable data flows. You can check out more on how data pipelines fuel AI-driven success on Salesforce.com.
Managing Your Go-Live Cutover and Rollback Plan
The go-live cutover is the moment of truth. After months of planning, mapping, and testing, this is where everything comes together. Think of it as the final, meticulously choreographed scene in a blockbuster movie—every single action has to be timed perfectly. This isn’t the time to wing it; you need a minute-by-minute playbook that orchestrates every task, owner, and dependency.

A well-executed cutover isn’t just about moving data; it’s about minimizing the shock to the business. The goal is to make the transition so smooth that your users barely notice anything other than a new, improved system on Monday morning. It transforms a potentially high-stress weekend into a controlled, predictable process.
Creating Your Minute-by-Minute Cutover Playbook
Your cutover playbook is your bible for the migration weekend. It needs to be a hyper-detailed schedule, often broken down into 15-minute increments, that lays out the entire sequence of events. When your team is under pressure and sleep-deprived, the last thing you want is guesswork.
This playbook has to include:
- A Clear Timeline: Document the exact start and end times for every activity, from locking down the old system to the final user validation.
- Task Ownership: Every single task needs a name next to it. No ambiguity, no “the team will handle it.” Who is running the script? Who is doing the spot-check?
- Communication Points: Schedule mandatory checkpoints to update stakeholders on progress, any delays, or critical issues that pop up.
A great plan turns a chaotic weekend into a well-oiled machine, ensuring every step is executed in the right order by the right person.
The single most overlooked—and most critical—part of a cutover plan is simple communication. Announcing a hard “data freeze” to all users is non-negotiable. Define a precise time when they must stop entering data into the old system. Otherwise, you’ll be chasing last-minute changes that will inevitably get lost in the shuffle.
Executing the Final Delta Migration
Even with a data freeze, a few changes might slip through. The delta migration is your final sweep. This is where you grab any records created or modified between your last full dry run and the system lockdown. It’s a crucial last step to guarantee no data is left behind.
Right after the delta load finishes, it’s time to run your pre-defined validation scripts. These aren’t the same as full-blown UAT. Think of them as quick, targeted checks to confirm foundational data integrity—are the record counts right? Are critical parent-child relationships intact?
The Importance of a Well-Documented Rollback Plan
Now, let’s talk about the safety net you hope you never need: the rollback plan. No matter how many times you’ve rehearsed, things can go wrong. A rollback plan is your documented, step-by-step procedure to revert to the old system if the migration hits a show-stopping, catastrophic failure.
Your rollback strategy should clearly define four things:
- The “Go/No-Go” Criteria: What specific issues would actually trigger a rollback? This decision can’t be based on a gut feeling at 3 AM. It needs to be based on pre-agreed conditions.
- Re-Enabling the Source System: What are the technical steps to bring the legacy system back online for users?
- Data Reconciliation: How will you handle any new data that was created in the new Salesforce org before you pulled the plug? This often gets forgotten.
- Communication Protocol: Who makes the final call, and how is that decision communicated to everyone? A clear protocol prevents panic and confusion.
Having this plan documented and ready to go gives you the confidence to move forward. You’re prepared for the worst-case scenario, which is the best way to protect the business from extended downtime.
Don’t Pop the Champagne Just Yet: Post-Migration Support is Key
The moment your data goes live in the new Salesforce org isn’t the finish line. Far from it. It’s actually the starting gun for a new, critical phase of hands-on support. The job is absolutely not done once the last record is loaded.
This initial period, often called “hypercare,” is where the real success of the migration is cemented.
Think of it like launching a rocket. Sure, the countdown and liftoff are the big, exciting moments. But the mission’s success truly depends on what happens next: stabilizing the trajectory, monitoring all the systems, and making tiny adjustments in real-time. Your new Salesforce instance is exactly the same. This is your window to stabilize the environment, knock out the inevitable user issues, and prove the migration was worth it.
Set Up Your Post-Go-Live Command Center
For the first few weeks, your project team needs to stay glued to their seats. This is not the time to disband and move on to the next shiny object. Instead, you need a dedicated command center focused on one thing: rapid response.
Here’s what you need to have in place immediately:
- A Dedicated Support Channel: Set up a specific Slack channel or a priority support queue just for migration-related issues. This keeps everything in one place and prevents urgent problems from getting buried in the general helpdesk.
- Proactive Pipeline Monitoring: Don’t just sit back and wait for users to tell you something looks off. Keep a close eye on your data pipelines, especially if you have ongoing syncs running with systems like Snowflake. You should be actively checking for sync errors, mismatched record counts, and any weird latency.
- Runbook-Driven Troubleshooting: Your team should already have runbooks for the common problems you know will pop up—think validation rule failures or record-locking errors. This means you can solve problems faster and more consistently, instead of reinventing the wheel with every ticket.
For RevOps leaders, this is the moment you must shift from a “project complete” mindset to one of ongoing care and feeding. The hypercare period is your golden opportunity to squash small bugs before they grow into systemic problems and to make sure your brand-new system doesn’t start collecting technical debt on day one.
From Putting Out Fires to Fine-Tuning the Engine
After that first wave of user-reported issues dies down, your focus can shift from firefighting to fine-tuning. This is where you start to measure the migration’s success against the goals you laid out all those months ago in the planning phase.
This optimization phase isn’t just about fixing what’s broken; it’s about making sure the new system is actually delivering real, long-term business value. You’ll be refining new workflows, checking that your data syncs are lining up perfectly with warehouse reporting, and collecting user feedback to find the next batch of enhancements.
Getting this part right is what truly solidifies user adoption and confirms the migration delivered on its promise.
Got Questions? We’ve Got Answers.
Every data migration project, no matter how well-planned, comes with its own set of “what ifs” and “how do we’s.” It’s just part of the process. When you’re wrestling with a Salesforce migration, a few questions tend to surface again and again. Let’s dig into the most common ones and get you some straight answers.
How Long is This Really Going to Take?
Ah, the million-dollar question. The honest answer? It depends entirely on the volume, complexity, and cleanliness of your data.
- A small business with clean data and a simple setup? You could be looking at a 4-6 week sprint.
- A mid-sized company with a handful of custom objects and some data cleanup needed? Better to budget for 2-4 months.
- A large enterprise with multiple orgs, years of technical debt, and gnarly transformation logic? Buckle up, because those projects can easily stretch to 5-9 months, sometimes even longer.
Here’s a good way to think about it: break the project down. Give yourself 3-6 weeks for discovery and planning, 6-12 weeks for the actual build and test cycles, and a solid 2-4 weeks for post-launch hypercare. Trying to shortchange any of these phases is just asking for trouble down the line.
What Are the Biggest Landmines to Avoid?
If you want to know what keeps migration experts up at night, it’s these three things: data corruption, extended downtime, and budget overruns.
Data corruption is the silent killer. It sneaks in when your schema mapping is off or when you accidentally break the relationships between records (like an Opportunity losing its Account).
Extended downtime is much more dramatic. It’s usually the result of a shaky cutover plan or hitting a wall of unexpected errors during the final import. And those budget overruns? They almost always point back to a rushed discovery phase that missed the true complexity hiding in your data, leading to delays and calls for more resources.
Salesforce Data Loader or a Third-Party Tool?
This one comes down to scale and complexity. Salesforce Data Loader is a fantastic, free utility for simpler migrations—think up to 5 million records per object. If your team is comfortable with manual CSV mapping and uploads, it can get the job done.
But once you’re dealing with a massive, complex migration, purpose-built ETL or iPaaS tools are worth their weight in gold. They give you visual mappers, automated transformations, and much better ways to handle errors. Yes, they have a price tag, but they can save you an incredible amount of development time and dramatically lower your project risk.
How Should We Handle Records Owned by Deactivated Users?
This is a classic migration headache. The standard best practice is to reassign these records to a dedicated, active “Integration User” or a specific data steward in the new org.
Why? It keeps all the historical data alive and accessible. You can either handle this reassignment in the source org before you start exporting, or you can build it in as a transformation step in your migration pipeline.
Navigating these complexities requires real engineering. RevOps JET provides on-demand RevOps engineering to build the robust data pipelines and scalable CRM structures you need for a flawless migration. See how our fixed-cost service can save you 300+ engineering hours a year.